
How DTF Printing and Pressing Process Works in Real-Time

DTF printing turns a digital design into a wearable transfer through five connected stages: printing, powdering, curing, pressing, and peeling, each one taking place in a matter of minutes on real production equipment. If you have ever wondered what actually happens between hitting "print" and holding a finished shirt, this guide walks you through the entire DTF printing process step by step, in the order it happens on the shop floor. You will learn what each stage looks like in real time, how long it takes, and where most beginners lose quality without realizing it.
What Is DTF Printing, Exactly?
Direct-to-film (DTF) printing prints your design onto a special PET film using CMYK inks topped with a layer of white ink, then bonds it to fabric using heat-activated adhesive powder. Unlike DTG (direct-to-garment) printing, DTF does not print straight onto the shirt. Instead, it creates a transfer first, which you press onto almost any fabric later. This makes DTF one of the most flexible garment printing methods available to small shops and large production lines alike.
Stage One: Design and Print
Preparing Your Artwork
Every successful transfer starts with a file set to 300 DPI or higher. Low-resolution art looks fine on screen but turns blurry once pressed onto fabric. You also need to mirror your image horizontally before printing, since the design prints in reverse and gets flipped again during application.
The Role of RIP Software
Your file then runs through RIP (Raster Image Processor) software, which separates the color channels and controls how much white ink lays down underneath the CMYK layer. This step decides how vibrant and opaque your final print looks, so skipping proper RIP settings is one of the fastest ways to waste film.
Printing on the Film
The printer feeds PET transfer film matte-side up, applying CMYK ink first and a solid white layer on top. In real time, a standard 12-inch wide design takes roughly 30 to 90 seconds to print, depending on image size and printer speed. The white layer is what makes DTF transfers pop on dark fabric, something screen printing struggles to match without multiple passes.
Stage Two: Powder and Cure
Applying Adhesive Powder
While the ink is still wet, you sprinkle TPU hot-melt adhesive powder evenly across the printed area. Timing matters here. Wait too long and the ink dries before the powder can bond to it.
Shaking Off Excess Powder
Shake or flick the film to remove any powder that did not stick to the wet ink. Leftover loose powder causes uneven texture and wasted material, so this quick step directly affects your final transfer's feel.
Curing the Powder
Pass the powdered film through a DTF curing oven, or hold a heat press slightly above the film, at 160°C to 170°C for 2 to 3 minutes. You are looking for the powder to melt into a smooth, glossy, uniform layer. Rushing this stage leaves patches of unmelted powder, which peels off after a few washes.
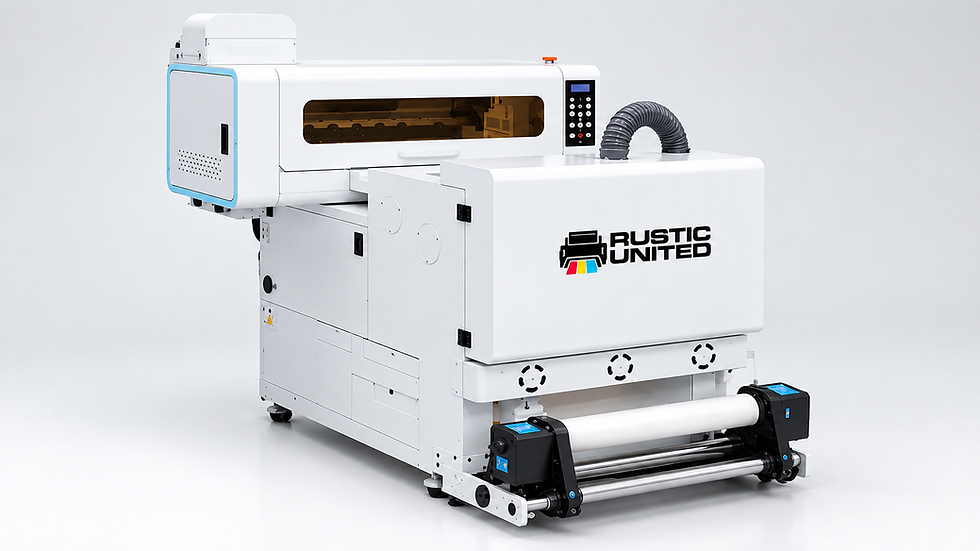
This is also where equipment quality starts to matter. A reliable heat press machine and a properly calibrated DTF printer keep your temperatures and timing consistent from batch to batch. Alpha Print Supply stocks Mimaki DTF printers, STS Inks equipment, and TPU hot-melt powders built specifically to handle this stage without guesswork.

Stage Three: Transfer to Fabric
Pre-Pressing the Garment
Before you place the transfer, pre-press your shirt or fabric for 5 seconds. This removes moisture and wrinkles that would otherwise trap air bubbles under the design.
Positioning and Pressing
Place the cured film design-side down onto the garment and secure it with heat-resistant tape so it does not shift. Press at 150°C to 160°C for 10 to 15 seconds, though you should always check your specific film and powder manufacturer's guidelines since formulas vary.
Peeling and Final Press
Depending on your film type, you either let it cool for a cold peel or remove it warm for a hot peel. Once peeled, re-press the garment for 5 seconds using a Teflon or parchment sheet. This final press locks the adhesive into the fabric fibers and directly improves wash durability.
A Real-Time Timeline: What This Looks Like in a Shop
Here is roughly how long the full process takes for one standard transfer, from print to finished garment:
Printing the design: 30 to 90 seconds
Powdering and shaking off excess: 30 to 60 seconds
Curing the powder: 2 to 3 minutes
Pre-pressing the garment: 5 seconds
Pressing the transfer: 10 to 15 seconds
Final press after peeling: 5 seconds
Add setup and cooldown time, and one transfer typically moves from digital file to finished shirt in under 10 minutes once your workflow is dialed in.
Common Mistakes That Slow You Down
Printing at low DPI, which forces reprints
Applying powder after the ink starts drying
Under-curing the powder, leaving a rough or peeling texture
Skipping the pre-press step, which traps moisture under the design
Using a mismatched press temperature for your specific film or powder brand
Most of these mistakes trace back to inconsistent equipment rather than technique. Investing in a dependable DTF printer, quality PET transfer film, and properly rated hot-melt powder removes most of the guesswork from this process.
When Outsourcing Makes More Sense Than Printing In-House
Not every business needs to own a full DTF setup. If you print occasionally or want consistent results without managing curing temperatures and powder shelf life yourself, HotpressKC offers ready-made DTF and UV DTF transfer printing services, including a self-service gang sheet builder and fast turnaround shipping across the US. It is a practical option for shops testing DTF before committing to equipment, or for anyone who wants finished transfers without running the machines.
Your Next Print Run Starts Here
The DTF printing process rewards consistency more than speed. Every stage, from artwork prep to the final press, builds on the one before it, and skipping steps shows up in the wash, not on day one. Whether you are setting up your first printer or scaling a production line, Alpha Print Supply carries the printers and premium DTF consumables that keep every stage of this process reliable. Reach out to Alpha Print Supply today to build a DTF setup that holds up print after print.
Frequently Asked Questions
How long does the full DTF printing and pressing process take?
A single standard transfer typically takes under 10 minutes from printing to a finished, pressed garment. This includes printing, powdering, curing, and two separate heat press stages. Larger designs or gang sheets take proportionally longer to print but follow the same overall timeline.
What temperature should I cure DTF powder at?
Most TPU hot-melt powders cure between 160°C and 170°C for 2 to 3 minutes. Exact settings vary by powder brand, so always check the manufacturer's specifications before your first run. Under-curing leaves a rough texture, while overcuring can scorch the film.
Is cold peel or hot peel better for DTF transfers?
Neither is universally better, since it depends on your film type. Cold peel films need to cool completely before removal and generally produce a slightly glossier finish. Hot peel films are removed while still warm, which speeds up production for high-volume runs.
Can I press DTF transfers on fabrics other than cotton?
Yes, DTF transfers work on cotton, polyester, blends, and even some nylon fabrics when pressed at the correct temperature. Always test a small sample first, since heat-sensitive fabrics may need lower press temperatures or shorter press times. This flexibility is one reason DTF has become popular for mixed-fabric apparel lines.
Do I need to buy my own DTF printer to get started?
No, you can outsource your transfers to a dedicated DTF transfer printing service like HotpressKC if you are not ready to invest in equipment. This lets you test designs and order volumes before committing to a full in-house setup. Once your order volume grows, moving to your own printer through Alpha Print Supply becomes more cost-effective.

Comments